
Retrofit 是 square 公司的另一款广泛流行的网络请求框架。前面的一篇文章《源码分析OKHttp执行过程》已经对 OkHttp 网络请求框架有一个大概的了解。今天同样地对 Retrofit 的源码进行走读,对其底层的实现逻辑做到心中有数。
0x00 基本用法Retrofit 的项目地址为:https://github.com/square/retrofit
打开项目目录下的 samples 文件夹,从这里可以浏览 Retrofit 项目的使用范例。
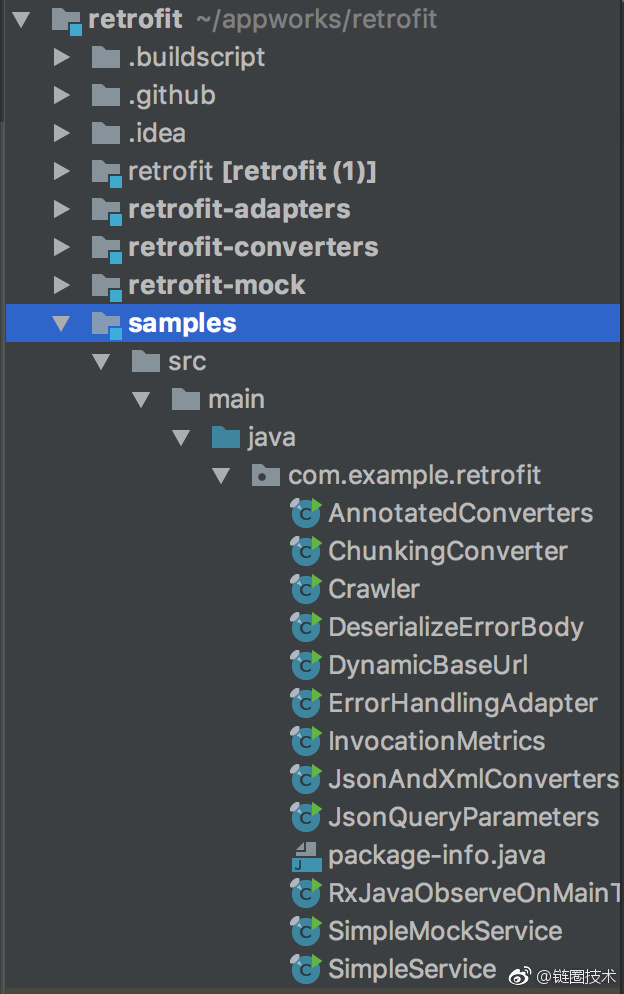
在本文中打开SimpleService.java 这个类作为源码走读的入口。这个类很简单,展示了 Retrofit 的基本用法
public final class SimpleService { //定义接口请求地址 public static final String API_URL = "https://api.github.com"; //定义接口返回数据的实体类 public static class Contributor { public final String login; public final int contributions; public Contributor(String login, int contributions) { this.login = login; this.contributions = contributions; } } //定义网络请求接口 public interface GitHub { //这个是请求github项目代码贡献者列表的接口 //使用@GET注解指定GET请求,并指定接口请求路径,使用大括号{}定义的参数,是形参,retrofit会把方法中的 //@Path 传入到请求路径中 @GET("/repos/{owner}/{repo}/contributors") Call<List<Contributor>> contributors( @Path("owner") String owner, @Path("repo") String repo); } public static void main(String... args) throws IOException { // 创建一个retrofit,并且指定了接口的baseUrl // 然后设置了一个gson转换器,用于将接口请求下来的json字符串转换为Contributor实体类。 Retrofit retrofit = new Retrofit.Builder() .baseUrl(API_URL) .addConverterFactory(GsonConverterFactory.create()) .build(); // 这里是魔法所在,retrofit将程序猿定义的接口变成“实现类” GitHub github = retrofit.create(GitHub.class); //通过retrofit这个“实现类”执行contributors方法 Call<List<Contributor>> call = github.contributors("square", "retrofit"); // 执行Call类中的execute方法,这是一个同步方法 // 当然跟okhttp一样,异步方法是enqueue,这个下文会提到 List<Contributor> contributors = call.execute().body(); for (Contributor contributor : contributors) { System.out.println(contributor.login + " (" + contributor.contributions + ")"); } } }通过上面代码的阅读,知道 retrofit 使用流程
定义 API
构造接口数据实体类
构造 retrofit 对象,指定baseUrl和数据转换器(即接口数据解析器,如对json、xml、protobuf等数据类型的解析)
通过 retrofit 将程序猿定义的 API 接口变成"实现类"
执行“实现类”的方法
执行网络请求,获取接口请求数据
这个流程关键点是4、5、6,下文将详细对这几个步骤的源码进行阅读。
在继续下文之前,我们先看看这个SimpleService的执行结果,它打印了retrofit 这个项目的代码贡献者
JakeWharton (928) swankjesse (240) pforhan (48) eburke (36) dnkoutso (26) NightlyNexus (26) edenman (24) loganj (17) Noel-96 (16) rcdickerson (14) rjrjr (13) kryali (9) adriancole (9) holmes (7) swanson (7) JayNewstrom (6) crazybob (6) Jawnnypoo (6) danrice-square (5) vanniktech (5) Turbo87 (5) naturalwarren (5) guptasourabh04 (4) artem-zinnatullin (3) codebutler (3) icastell (3) jjNford (3) f2prateek (3) PromanSEW (3) koalahamlet (3) 0x01 构造过程从上文的源码阅读中,可以看出程序猿只是定义了一个接口,但是现在实现接口的工作是由 retrofit 来实现的
GitHub github = retrofit.create(GitHub.class); Call<List<Contributor>> call = github.contributors("square", "retrofit"); create打开 retrofit.create方法
public <T> T create(final Class<T> service) { //对接口进行校验 Utils.validateServiceInterface(service); if (validateEagerly) { eagerlyValidateMethods(service); } //通过Proxy创建了一个代理 return (T) Proxy.newProxyInstance(service.getClassLoader(), new Class<?>[] { service }, new InvocationHandler() { private final Platform platform = Platform.get(); private final Object[] emptyArgs = new Object[0]; @Override public Object invoke(Object proxy, Method method, @Nullable Object[] args) throws Throwable { // If the method is a method from Object then defer to normal invocation. if (method.getDeclaringClass() == Object.class) { return method.invoke(this, args); } //判断是否为默认方法,Java8中接口也可以有默认方法,所以这里有这个判断 if (platform.isDefaultMethod(method)) { return platform.invokeDefaultMethod(method, service, proxy, args); } //关键点 return loadServiceMethod(method).invoke(args != null ? args : emptyArgs); } }); }这个方法很短,关键是通过 Proxy 创建了一个 Github 接口的代理类并返回该代理。
newProxyInstance 方法需要3个参数:ClassLoader、Class<?>数组、InvocationHandler 回调。