
在Startup.cs中注入IdentityServer服务
public void ConfigureServices(IServiceCollection services) { var section = Configuration.GetSection("SSOConfig"); services.AddIdentityServer() .AddDeveloperSigningCredential() .AddInMemoryApiResources(SSOConfig.GetApiResources(section)) .AddInMemoryClients(SSOConfig.GetClients(section)); services.AddMvc().SetCompatibilityVersion(CompatibilityVersion.Version_2_2); }使用IdentityServer中间件
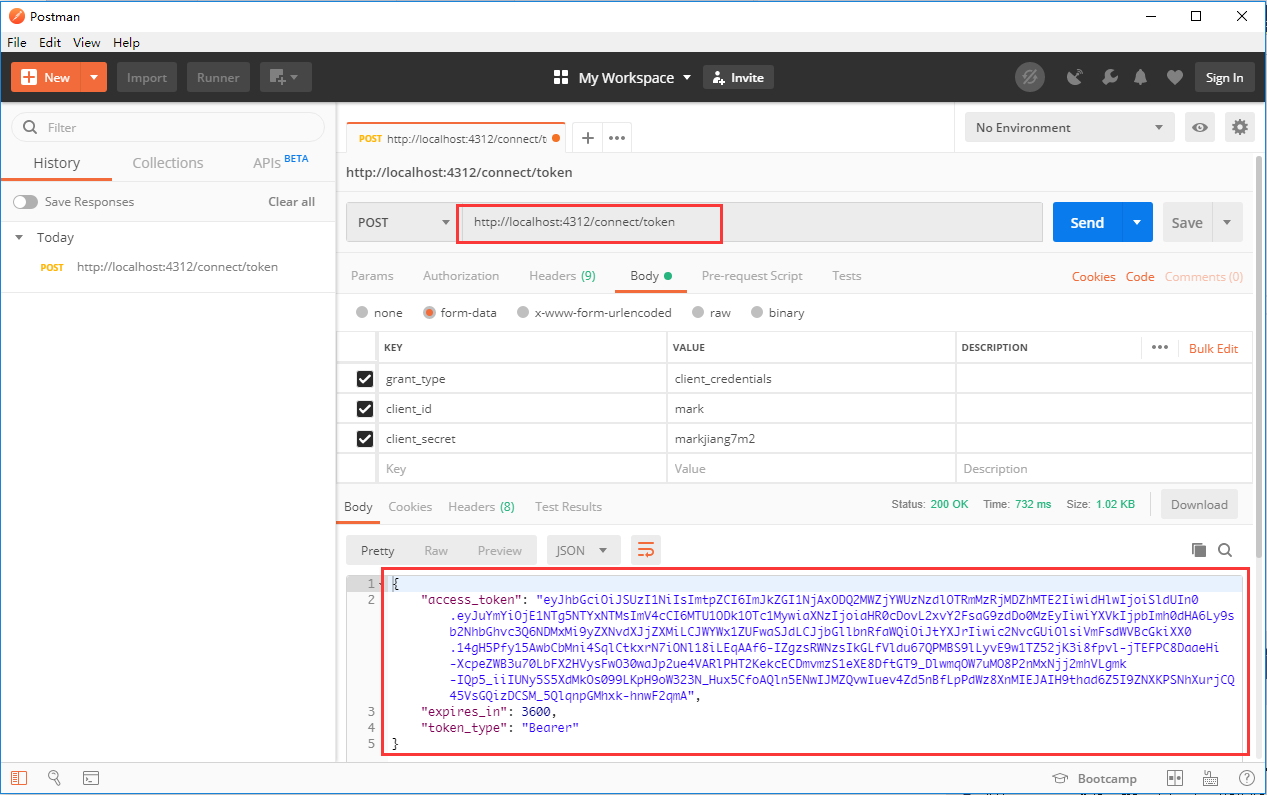
public void Configure(IApplicationBuilder app, IHostingEnvironment env) { if (env.IsDevelopment()) { app.UseDeveloperExceptionPage(); } app.UseIdentityServer(); app.UseMvc(); }配置完成,接下来用Debug模式看看IdentityServer是否可用,尝试向IdentityServer进行认证。因为需要使用post方式,而且在认证请求的body中加入认证信息,所以我这里借助Postman工具完成。
请求路径:<host>+/connect/token
如果认证正确,会得到如下结果:
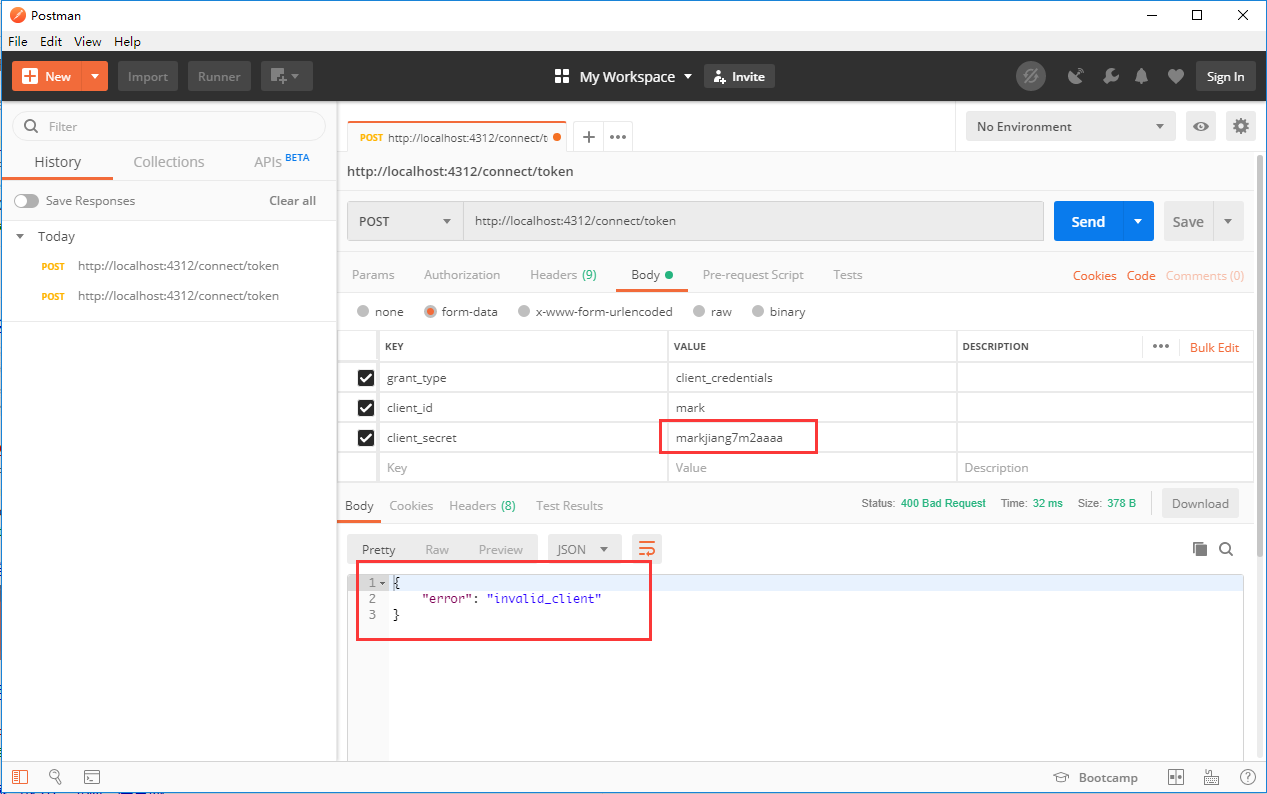
如果认证失败,则会返回如下:
这样,最简单的IdentityServer服务就配置完成了。当然,我刚刚为了快速验证IdentityServer服务是否搭建成功,所以使用的是Debug模式,接下来要使用的话,还是要通过IIS部署使用的,我这里就把IdentityServer服务部署到8005端口。
下游服务加入认证
在OcelotDownAPI项目中,使用NuGet添加AccessTokenValidation包,可以直接使用NuGet包管理器搜索IdentityServer4.AccessTokenValidation进行安装,或者通过VS中内置的PowerShell执行下面的命令行
在appsettings.json中加入IdentityServer服务信息
"IdentityServerConfig": { "ServerIP": "localhost", "ServerPort": 8005, "IdentityScheme": "Bearer", "ResourceName": "identityAPIService" }这里的identityAPIService就是在IdentityServer服务端配置ApiResources列表中登记的其中一个下游服务。
在Startup.cs中读取IdentityServer服务信息,加入IdentityServer验证
public void ConfigureServices(IServiceCollection services) { IdentityServerConfig identityServerConfig = new IdentityServerConfig(); Configuration.Bind("IdentityServerConfig", identityServerConfig); services.AddAuthentication(identityServerConfig.IdentityScheme) .AddIdentityServerAuthentication(options => { options.RequireHttpsMetadata = false; options.Authority = $"http://{identityServerConfig.IP}:{identityServerConfig.Port}"; options.ApiName = identityServerConfig.ResourceName; } ); services.AddMvc().SetCompatibilityVersion(CompatibilityVersion.Version_2_2); } public void Configure(IApplicationBuilder app, IHostingEnvironment env) { if (env.IsDevelopment()) { app.UseDeveloperExceptionPage(); } app.UseAuthentication(); app.UseMvc(); }根据前面的配置,我们添加一个需要授权的下游服务API
注意添加属性[Authorize]
因为我这里只是为了演示IdentityServer的认证流程,所以我只是在其中一个API接口中添加该属性,如果还有其他接口需要整个认证,就需要在其他接口中添加该属性,如果是这个Controller所有的接口都需要IdentityServer认证,那就直接在类名前添加该属性。
重新打包OcelotDownAPI项目,并发布到8001端口。
首先,像之前那样直接请求API,得到如下结果:

得到了401的状态码,即未经授权。
因此,我必须先向IdentityServer请求认证并授权
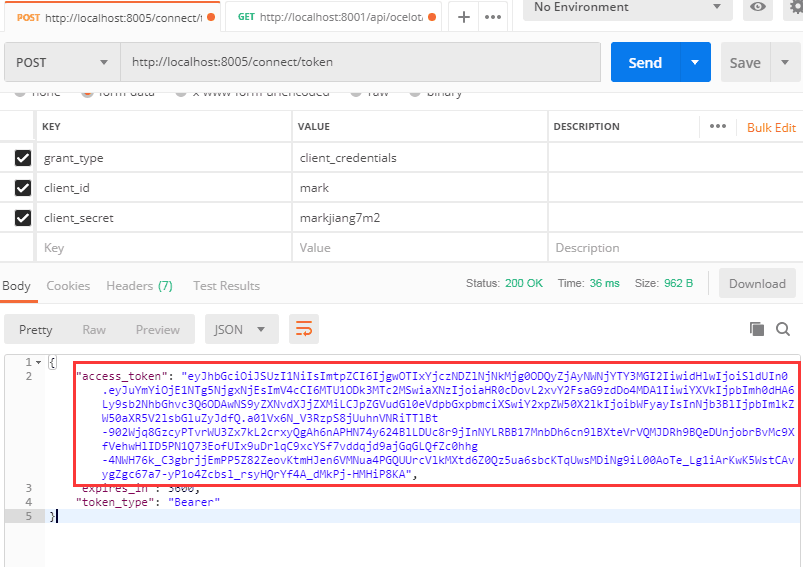
然后将得到的Token以Bearer的方式加入到向下游服务的请求当中,这样我们就可以得到了正确的结果
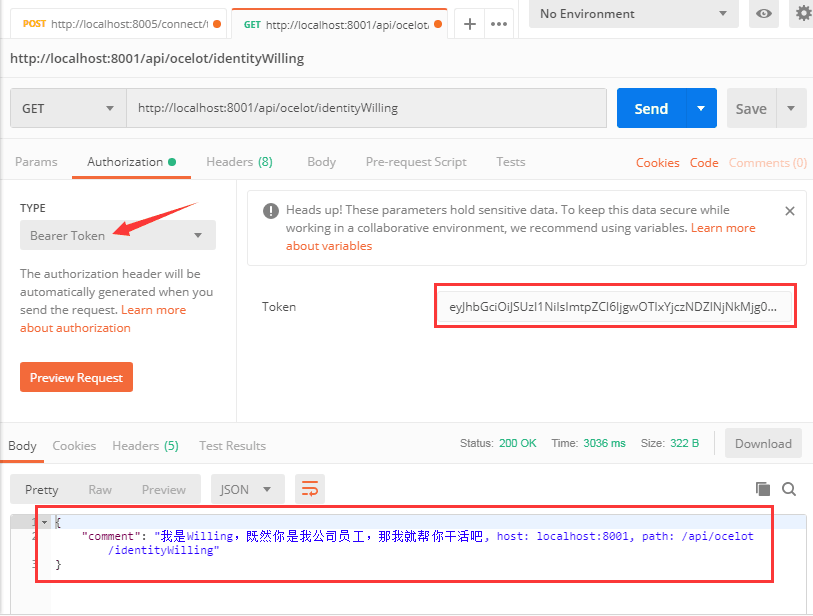
可能有些朋友在这里会有点疑惑,在Postman中我们在Authorization中加入这个Token,但是在我们实际调用中该怎么加入Token?