首先,打开项目下的 ./pages/index.js,发现页面导出了一个函数式的 React 组件。在 Next.js 中,pages 目录下,除了 api 文件夹下的内容和 _app.js,其他每个 js 文件导出的 React 组件都对应着一个或者一种页面,并且由 Next.js 直接生成对应的路由,index.js 导出的函数式组件就直接对应着我们进入网站后的第一个页面,而其他 js 文件于 ./pages 的相对地址就是 Next.js 为其自动生成的路由。
Next.js 在应用构建期,就会对每个页面执行数据拉取的逻辑,并根据 React 组件构建的 UI,渲染出最后的 HTML 页面,接下来,我们要做的就是,构建主页的 UI,以及为主页编写拉取数据的逻辑。
UI 编写接下来对主页的 UI 进行修改:
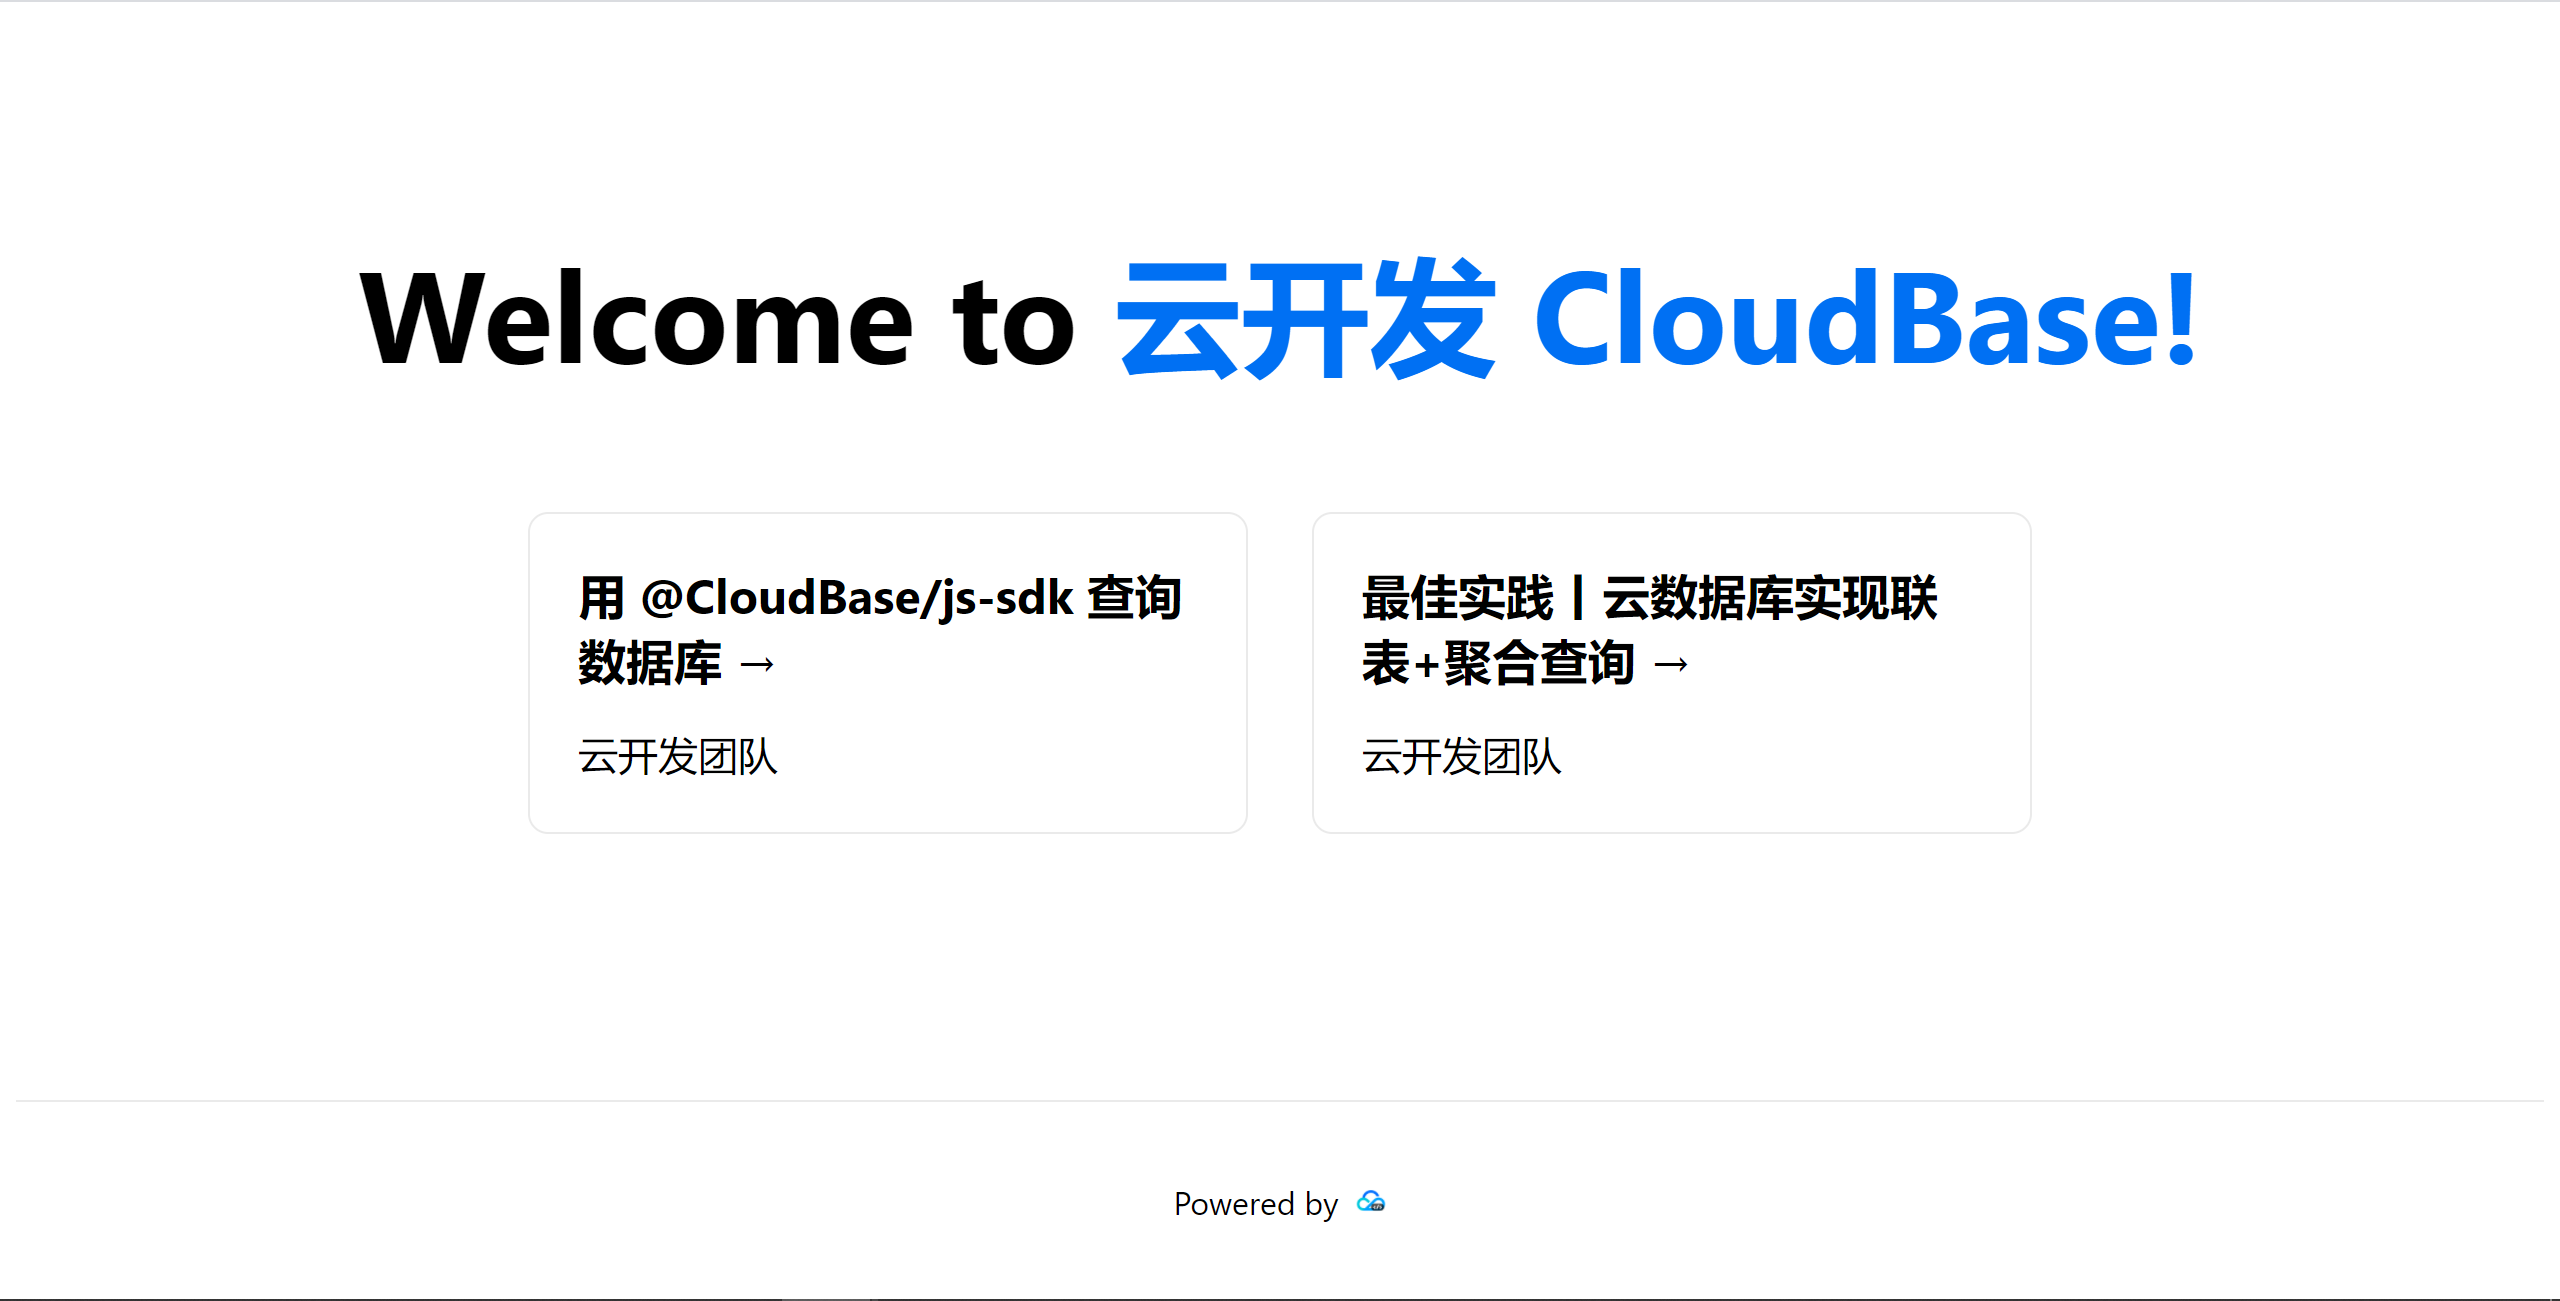
import Head from 'next/head' import Link from 'next/link' import styles from '../styles/Home.module.css' export default function Home({ posts }) { return ( <div className={styles.container}> <Head> <title>云开发小站</title> <link href="http://main.qcloudimg.com/raw/3b942431a6ef465d3b8369969e861c0f/favicon.png" /> </Head> <main className={styles.main}> <h1 className={styles.title}> Welcome to <a href="http://www.cloudbase.net/">云开发 CloudBase!</a> </h1> <div className={styles.grid}> {posts.map(post => ( <Link href=http://www.likecs.com/{`/post/${post._id}`}> <a href="http://nextjs.org/docs" className={styles.card}> <h3>{post.title} →</h3> <p>{post.author}</p> </a> </Link> ))} </div> </main> <footer className={styles.footer}> <a href="http://www.cloudbase.net/" target="_blank" > Powered by{' '} <img src="http://main.qcloudimg.com/raw/3b942431a6ef465d3b8369969e861c0f/favicon.png" alt="TCB Logo" className={styles.logo} /> </a> </footer> </div> ) }可以看到,修改后的 Home 组件,接受了一个 posts 为参数,这个 post 就是文章列表数据,我们将它在组件中渲染出来。
那么 post 从哪里来呢?在同一个 js 文件下,需要再导出一个 getStaticProps 函数。
export async function getStaticProps() { return { props: undefined, } }这个函数返回的对象的 props 属性,就是导出的函数式组件用到的参数。所以,只需要在 getStaticProps 函数中得到数据并返回即可。
拉取数据先安装拉取数据要用到的 SDK:
npm install --save @cloudbase/node-sdk然后,我们再创建 env.js 文件,在其中填入云环境相关信息:
export const tcbConfig = { env: '', secretId: '', secretKey: '' };其中环境ID(env)可以直接在环境主页中看到,API 密钥(secretId,secretKey)则可以在 访问管理 中获取。
最后,我们创建 ./lib/api.js,然后填入以下内容,将数据拉取的逻辑全部集中在这个文件中。
import tcb from '@cloudbase/node-sdk'; import { tcbConfig } from '../env'; const { Author, Article } = (() => { const db = tcb.init(tcbConfig).database(); return { Author: db.collection('author'), Article: db.collection('article'), }; })(); export const getHomePosts = async () => { const posts = (await Article .where({}) .orderBy('_updateTime', 'desc') .limit(10) .get()).data; for (const post of posts) { const { name } = (await Author .where({ _id: post.author }) .get()).data[0]; post.author = name; } return { posts } };在 api.js 中,根据环境信息,对 SDK 进行了初始化,并创建了用于查询文章和作者的实例 Author 和 Ariticle。在 getHomePosts 函数中,我们获取了展示用的文章。具体的逻辑如果不懂也暂时不必深究,现在只需要知道:通过执行 getHomePosts 我们能从云环境的 CMS 系统中拉取文章列表。
接着,再来修改 ./pages/index.js 文件:
import Head from 'next/head' import Link from 'next/link' import styles from '../styles/Home.module.css' import { getHomePosts } from '../lib/api' ... export async function getStaticProps() { return { props: await getHomePosts() }; }然后,再访问 localhost:3000,可以看到如下效果:

这标志着:我们成功从 CMS 中获取数据并能够渲染出静态页面来返回给客户端啦!
文章页面接下来,就要着手编写文章页面了,基本流程差不多,但值得注意的是,文章页面和主页不同,只有一个主页,但是文章页面可能有无数个,而Next.js 提供了能力,能让我们只编写一个 js 文件,并加以细微的改动,就能渲染出无数的文章页面 。
拉取用以渲染页面的文章内容先准备好需要的样式。首先创建 ./styles/Post.module.css 文件,具体样式内容可以参考:https://github.com/LRCong/nextjs-tcbcms-app/blob/main/styles/Post.module.css

