<form role="form"> <div> <label for="exampleInputEmail1">邮箱:</label> <input type="email" placeholder="请输入您的邮箱地址"> </div> <div> <label for="exampleInputPassword1">密码</label> <input type="password" placeholder="请输入您的邮箱密码"> </div> <div> <label> <input type="checkbox"> 记住密码 </label> </div> <button type="submit">进入邮箱</button> </form>
效果图:
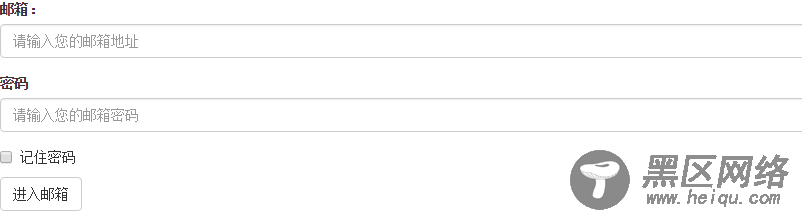
class: form-control
1、宽度变成了100%,2、设置了一个浅灰色(#ccc)的边框,3、具有4px的圆角,4、设置阴影效果,并且元素得到焦点之时,阴影和边框效果会有所变化,5、设置了placeholder的颜色为#999
2、水平表单:
Bootstrap框架默认的表单是垂直显示风格,但很多时候我们需要的水平表单风格(标签居左,表单控件居右)
<form role="form"> <div> <label for="inputEmail3">邮箱</label> <div> <input type="email" placeholder="请输入您的邮箱地址"> </div> </div> <div> <label for="inputPassword3">密码</label> <div> <input type="password" placeholder="请输入您的邮箱密码"> </div> </div> <div> <div> <div> <label> <input type="checkbox"> 记住密码 </label> </div> </div> </div> <div> <div> <button type="submit">进入邮箱</button> </div> </div> </form>
效果图:

在Bootstrap框架中要实现水平表单效果,必须满足以下两个条件:
1、在元素是使用类名“form-horizontal”。
2、配合Bootstrap框架的网格系统。
在元素上使用类名“form-horizontal”主要有以下几个作用:
- 设置表单控件padding和margin值。
- 改变“form-group”的表现形式,类似于网格系统的“row”。
3、水平表单:
在Bootstrap框架中实现这样的表单效果是轻而易举的,你只需要在元素中添加类名“form-inline”即可。
内联表单实现原理非常简单,欲将表单控件在一行显示,就需要将表单控件设置成内联块元素(display:inline-block)。
<form role="form"> <div> <label for="exampleInputEmail2">邮箱</label> <input type="email" placeholder="请输入你的邮箱地址"> </div> <div> <label for="exampleInputPassword2">密码</label> <input type="password" placeholder="请输入你的邮箱密码"> </div> <div> <label> <input type="checkbox"> 记住密码 </label> </div> <button type="submit">进入邮箱</button> </form>
效果图:
4、输入框input
单行输入框,常见的文本输入框,也就是input的type属性值为text。在Bootstrap中使用input时也必须添加type类型,如果没有指定type类型,将无法得到正确的样式.
<form role="form"> <div> <input type="email" placeholder="Enter email"> </div> <div> <input type="text" placeholder="请输入用户名"/> </div> </form>
效果图:

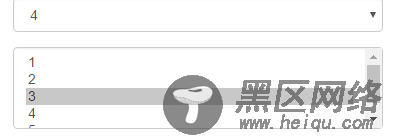
5、下拉选择框select
Bootstrap框架中的下拉选择框使用和原始的一致,多行选择设置multiple属性的值为multiple。Bootstrap框架会为这些元素提供统一的样式风格。
<form role="form"> <div> <select> <option>1</option> <option>2</option> <option>3</option> <option>4</option> <option>5</option> </select> </div> <div> <select multiple> <option>1</option> <option>2</option> <option>3</option> <option>4</option> <option>5</option> </select> </div> </form>
效果图:
6、文本域textarea
文本域和原始使用方法一样,设置rows可定义其高度,设置cols可以设置其宽度。但如果textarea元素中添加了类名“form-control”类名,则无需设置cols属性。因为Bootstrap框架中的“form-control”样式的表单控件宽度为100%或auto。
<form role="form"> <div> <textarea rows="3"></textarea> </div> </form>
效果图:
7.复选框checkbox和单选择按钮radio