
Inside the zohoverify folder, add the HTML file that you downloaded from Zoho Mail Admin Console— ./zohoverify/verifyforzoho.html should be the designated path.
After successfully adding the HTML file to your WebHost as instructed, you should be able to view a 13 digits numeric code by accessing the link available in the Zoho Mail Admin Console. If not, you can also check the code by manually going to yourdomain.com/zohoverify/verifyforzoho.html (replace yourdomain.com with your actual domain name).
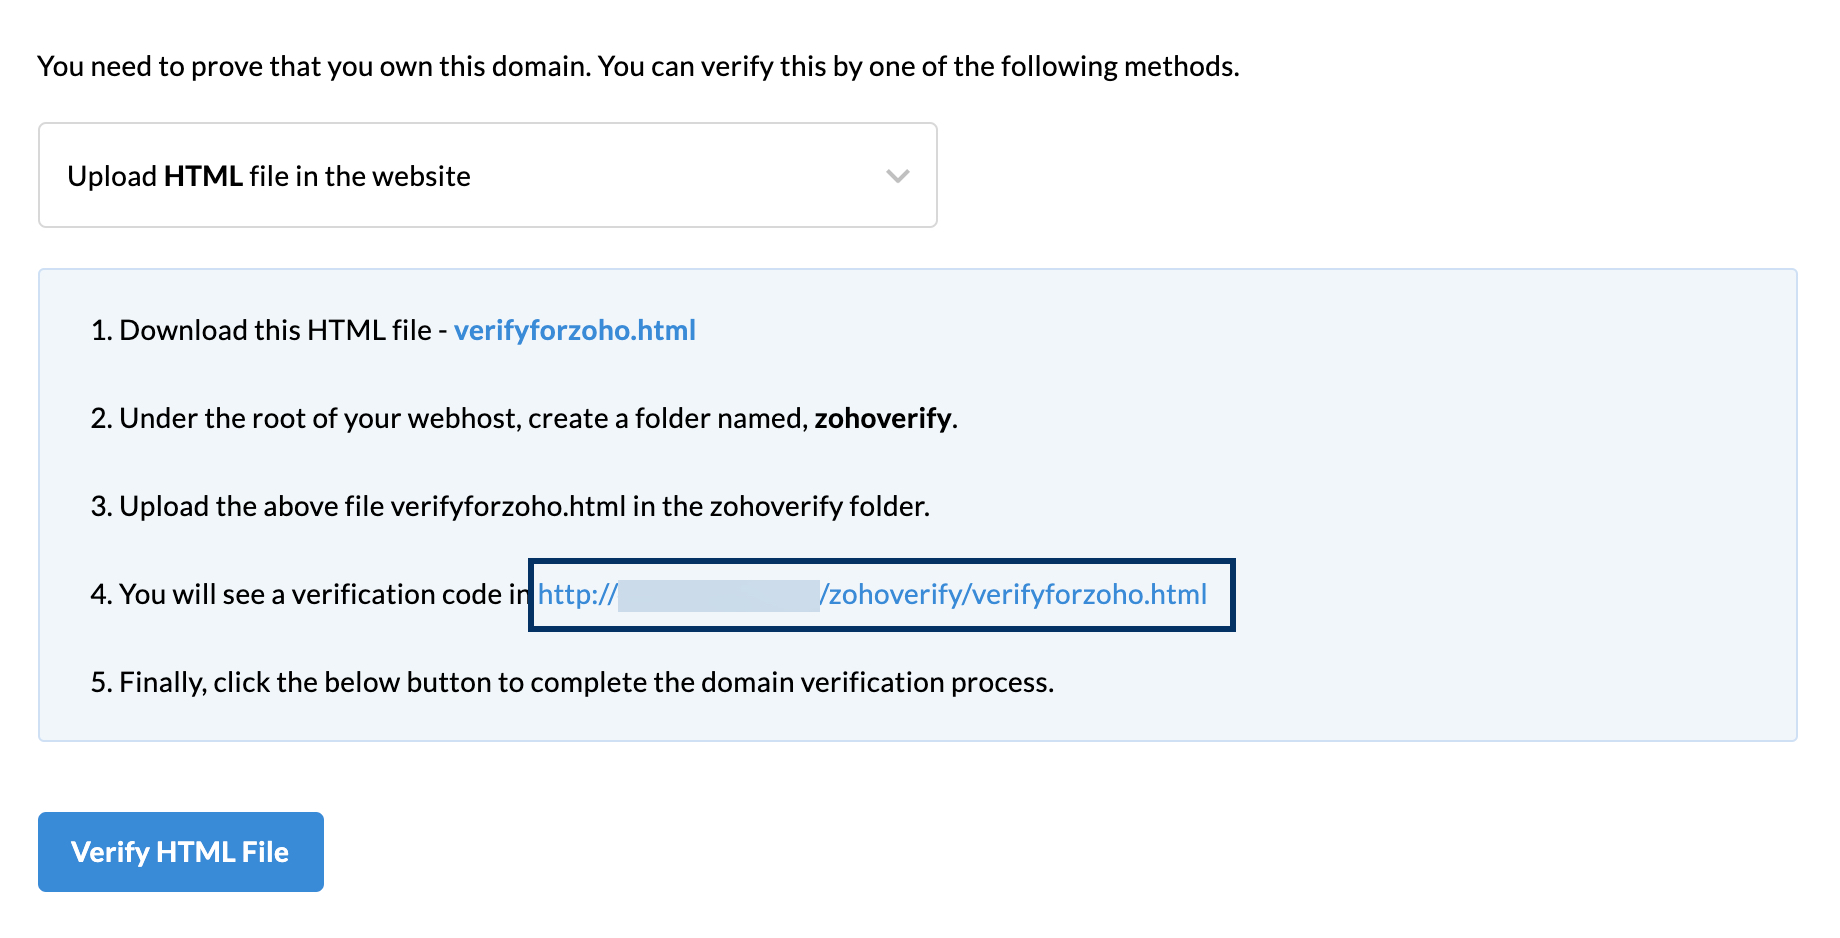
If you see the code, click Verify HTML file.
After successfully verifying your domain, you can proceed to add MX records to configure your email delivery. Adding MX records is mandatory to get your emails rightly delivered to your inbox.