Once you select the database name, a connection string would be generated as shown below and it will say that the connection string would be saved I the App.Config file with the name EFModelContainer. EFModelContainer is the name of the connection string. Since it is an EF generated connection string, you see it has the information about EF CSDL, MSL and SSDL files as well that would be present in our application. Click Next to proceed.

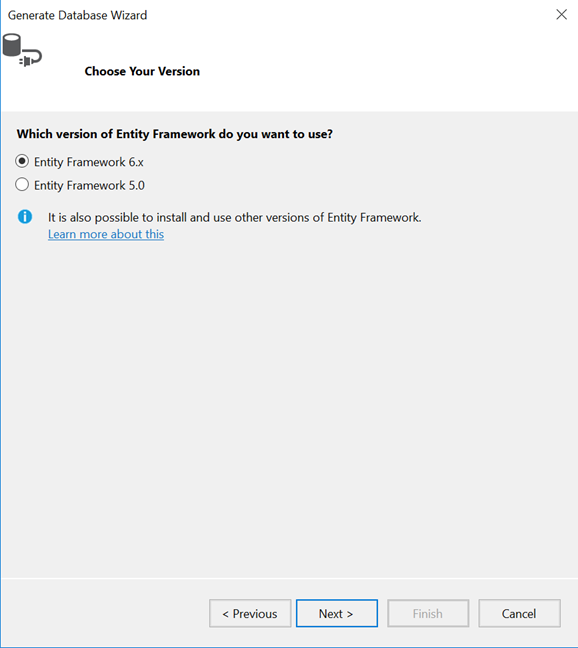
Next step is to choose your Entity Framework version. We’ll use 6.x i.e. it will automatically pick the latest stable version with EF6. Click Next.

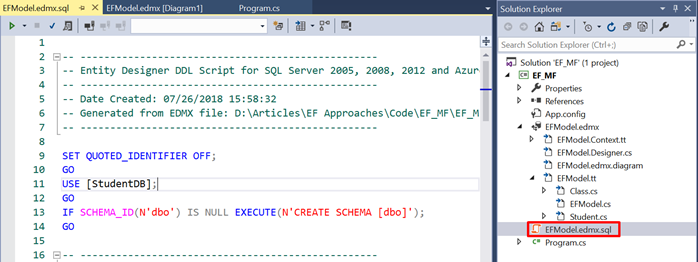
As a last step of the wizard, you’ll see the needed SQL scripts created for us. You can choose to rename the scripts but by default, it takes the name as <model name>.edmx.sql. I’ll leave it as it is and click Finish to proceed.

You’ll see the script located in solution explorer now. Double click to open it and it opens in a window where you have an option to directly execute it.


